

Authentication & API keys
Everything you can do in the Monita app is available over REST at https://api.monita.ai. Browse the API reference for every endpoint — the raw OpenAPI document is also public at api.monita.ai/openapi.json.
Create an API key
Section titled “Create an API key”-
Go to Settings → API keys.
-
Click Create key, name it after what will use it (one key per tool keeps revocation painless), and pick an expiry — 7 to 365 days, or no expiry.
-
Copy the secret — it’s shown once. Keys are prefixed
ak_.
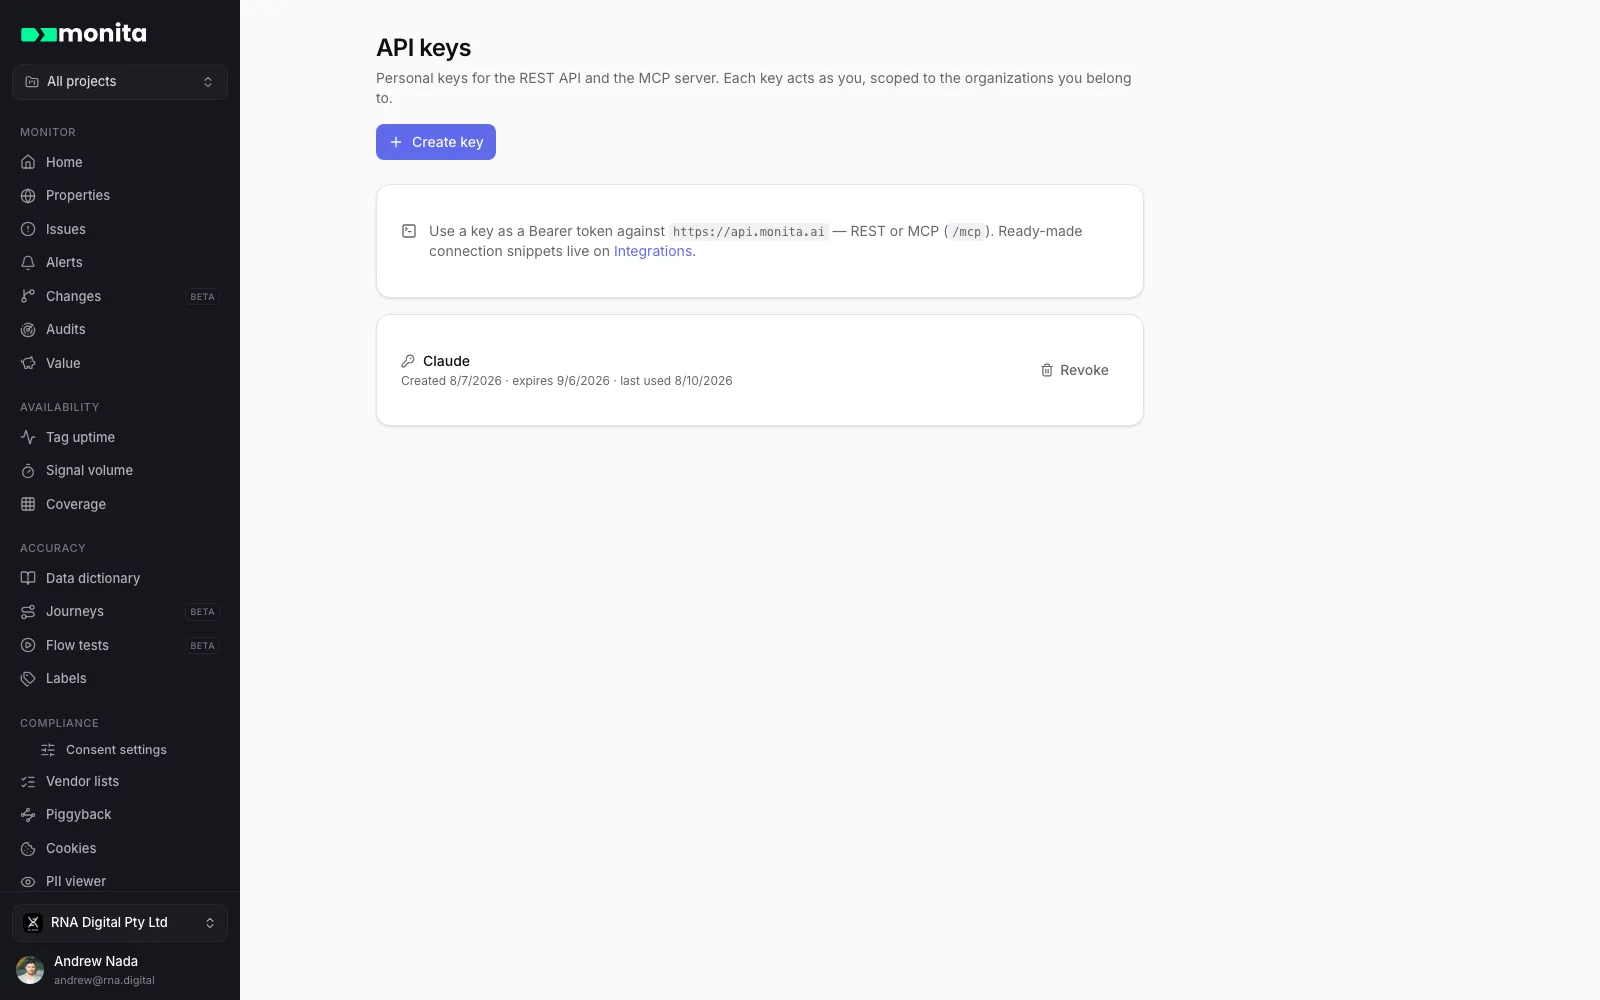
Revocation is immediate, from the same page.
Authenticate requests
Section titled “Authenticate requests”Send the key as a bearer token:
curl https://api.monita.ai/v1/whoami \ -H 'Authorization: Bearer ak_your_key'GET /v1/whoami is the quickest way to confirm a key works — it returns the user and organization the request is acting as.
Organizations
Section titled “Organizations”Keys act as the user who created them. If that user belongs to one organization, nothing more is needed. If they belong to several, say which org each request targets:
curl https://api.monita.ai/v1/issues \ -H 'Authorization: Bearer ak_your_key' \ -H 'X-Org-Id: org_2abc...'Without the header, multi-org requests fail with a response listing the available organization IDs.
Permissions
Section titled “Permissions”API requests carry the same permissions the key’s creator has in the app — see the role matrix in Team & roles. For read-only automations, create the key as a viewer user.
The collect endpoint is separate
Section titled “The collect endpoint is separate”https://collect.monita.ai/api/v1/ (event ingestion) authenticates with property tokens, not API keys — see Direct HTTP. API keys never need to be deployed to your website or servers that send events.
Using the API from AI tools
Section titled “Using the API from AI tools”The same keys work for the Monita MCP server — point your assistant at https://api.monita.ai/mcp.