

Google Tag Manager
The GTM integration powers container monitoring: instead of you hand-installing a tag, Monita deploys its approved monitoring template and tag directly into a workspace in your container. Connecting is a one-time Google sign-in; deploying is done per property.
What access Monita asks for, and why
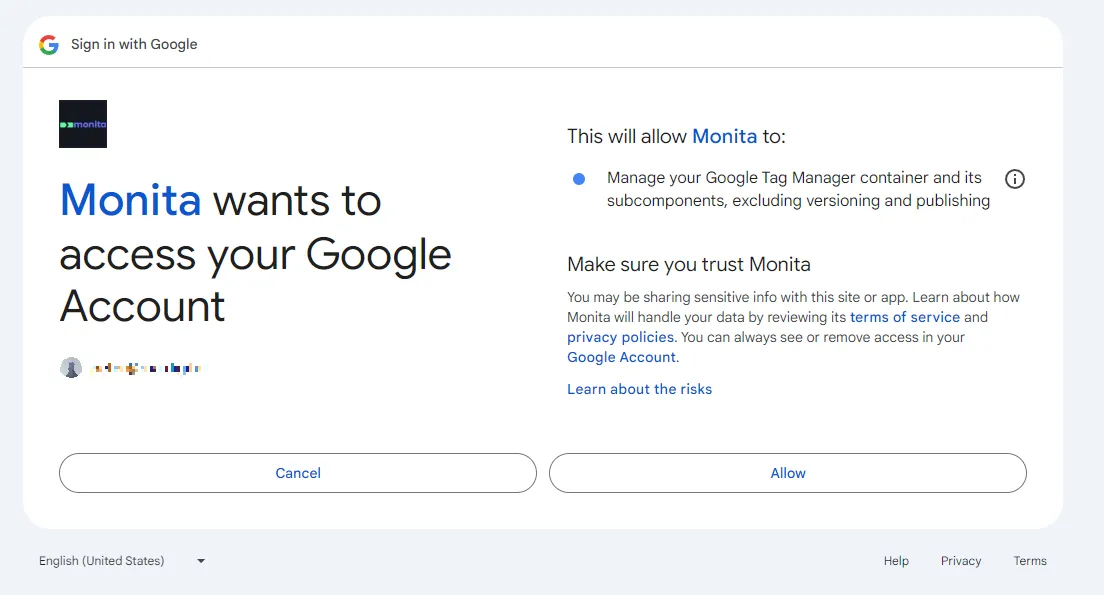
Section titled “What access Monita asks for, and why”The Google consent screen requests permission to view and manage your Google Tag Manager containers. Full write access is required because Monita creates real container assets on your behalf: a dedicated workspace, the approved Monita tag template, a trigger, and the monitoring tag. Read-only access can’t install anything.
The Google account you connect must itself have edit rights on the containers you want monitored — at minimum, permission to modify containers and container versions. If the account can’t edit a container, deploys to it fail.
Connect your Google account
Section titled “Connect your Google account”-
In Integrations, find the Google Tag Manager card and click Connect Google account.
-
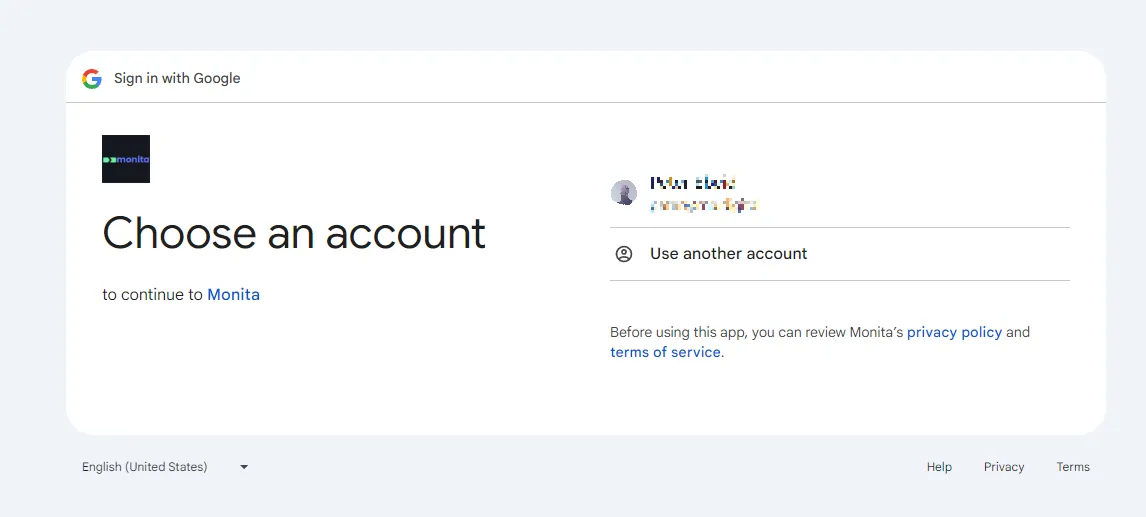
Choose the Google account that has access to your GTM containers.
-
Review and allow the requested Tag Manager access.
-
You land back in Monita with the connection active. The card lists the GTM accounts the connected user can see — agency users may see a lot of them; containers are browsed later, when you deploy.
Deploy monitoring into a container
Section titled “Deploy monitoring into a container”With the account connected, create a GTM container property (Properties → New property) and walk the wizard: pick the account, pick the container, choose which of its tags to monitor and which of their parameters to capture. Monita then deploys into the container:
- a Monita Deployment Workspace (created if your container plan has workspace room, otherwise an existing one is reused),
- the approved Monita tag template from the Community Template Gallery,
- a trigger that fires on every dataLayer event — monitoring covers all activity, not just page views,
- the monitoring tag itself, configured with your selections.
Then open the workspace in GTM, review the change, and publish. Monitoring starts with the next traffic after publish. The full walkthrough lives in GTM container monitoring.
Redeploy after changes
Section titled “Redeploy after changes”Your selections are remembered per property, so keeping monitoring current is one click — Redeploy on the property re-runs the deploy without re-asking anything. Redeploy when:
- you’ve added or changed tags in the container and want them reflected in monitoring,
- Monita’s template has a newer approved version,
- someone discarded the Monita workspace before it was published.
An existing Monita tag is updated in place — redeploying never creates duplicates. As always, the result is an unpublished workspace change for you to review and publish.
Disconnecting
Section titled “Disconnecting”Remove the integration from the Integrations page. One Google connection serves the whole organisation; connecting again replaces it. Disconnecting stops future deploys and redeploys — anything already published in your container keeps running until you remove it in GTM.